Modern Granny Square: 37 Easy Patterns for Beginners
Soft wool loops hook together into a thick, comforting fabric that brings a touch of handmade warmth to any sofa or bedroom. This project creates a dense, sturdy texture that holds its shape well over time, making it a reliable choice for home decor lovers who want to build something lasting. Beginners will find the repetitive motion of the chain and double crochet stitches relaxing, while gift makers appreciate how quickly these individual squares stack up. You will learn the exact sequence for working in joined rounds to ensure your edges stay straight and your tension remains consistent throughout the process.
Why This Project Is Worth Making
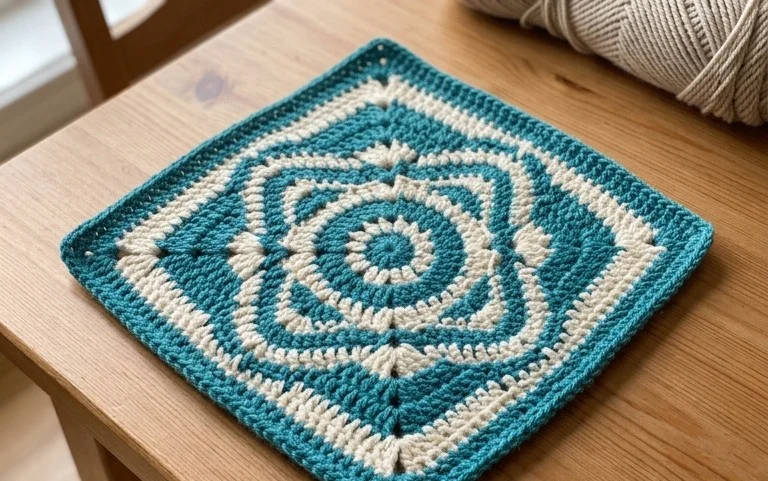
This beginner-friendly classic granny square project offers a meditative, repetitive rhythm that makes it ideal for evening crafting. Each square builds upon the last, allowing you to watch your project grow quickly as you master the double crochet stitch. Because the design relies on individual motifs, you can easily tuck the supplies into a small bag to work on during commutes or appointments. The project is also an excellent way to use up partial skeins of yarn left over from larger items, as each square requires only a modest amount of fiber.
I finished my first full set of these squares in a single weekend. The instructions are very clear for a beginner like me, and I finally feel confident reading a pattern without getting lost.
— Sarah, hobbyist crafter
Pattern Overview & Skill Level
- Skill Level: Beginner
- Approximate Time: 30 to 45 minutes per square
- Construction: Worked in joined rounds, starting from the center and moving outward
- Finished Dimensions: Each square measures approximately 5 inches by 5 inches when using standard medium weight yarn
Materials & Supplies Needed
- Yarn: Worsted weight (#4), 100% acrylic or wool blend, approximately 20 yards per square.
- Hook Size: 5.0 mm (US H-8).
- Notions: Yarn needle for weaving ends, scissors, and a measuring tape.
- Yarn Substitutions: Cotton yarn works well for a stiffer square, though it may require a slightly smaller hook to maintain density. Avoid bulky yarns, as they will alter the finished size significantly.
Stitch Guide & Abbreviations (US Terms)
- ch: chain
- sl st: slip stitch
- dc: double crochet
- st(s): stitch(es)
- sp: space (the gap created by a chain stitch in the previous round)
- Cluster: 3 double crochet stitches worked into the same space
Step-by-Step Pattern Instructions
Granny Square Body
- Rnd 1: Ch 4, join with sl st to first ch to form a ring. Ch 3 (counts as first dc), work 2 dc into the ring, ch 2. Work 3 dc into the ring, ch 2. Work 3 dc into the ring, ch 2. Work 3 dc into the ring, ch 2. Join with sl st to the top of the beginning ch-3. (12 sts, 4 ch-2 spaces)
- Rnd 2: Sl st into the next 2 sts and into the first ch-2 space. Ch 3, 2 dc in same space, ch 2, 3 dc in same space (corner made). *Ch 1, skip 3 sts, in next ch-2 space work (3 dc, ch 2, 3 dc). Repeat from * twice more. Ch 1, join with sl st to the top of the beginning ch-3. (24 sts, 4 corner spaces)
- Rnd 3: Sl st into the next 2 sts and into the corner ch-2 space. Ch 3, 2 dc in same space, ch 2, 3 dc in same space. *Ch 1, work 3 dc in the next ch-1 space, ch 1, in the next corner ch-2 space work (3 dc, ch 2, 3 dc). Repeat from * twice more. Ch 1, work 3 dc in the final ch-1 space, ch 1, join with sl st to the top of the beginning ch-3. (36 sts, 4 corner spaces)
- Rnd 4: Sl st into the next 2 sts and into the corner ch-2 space. Ch 3, 2 dc in same space, ch 2, 3 dc in same space. *Ch 1, (work 3 dc in next ch-1 space, ch 1) twice, in the next corner ch-2 space work (3 dc, ch 2, 3 dc). Repeat from * twice more. Ch 1, (work 3 dc in next ch-1 space, ch 1) twice, join with sl st to the top of the beginning ch-3. (48 sts, 4 corner spaces)
Finishing
Fasten off your yarn, leaving a six-inch tail. Use your tapestry needle to weave the tail through the back loops of the stitches on the reverse side of the work to secure it. Trim any excess yarn close to the fabric, being careful not to cut the actual stitches.
Care & Washing Instructions
- Machine wash your finished squares on a gentle cycle in cold water using a mild detergent.
- Lay the squares flat on a clean towel to air dry, ensuring they are positioned in a square shape.
- Avoid using a tumble dryer, as high heat can damage acrylic fibers or cause wool to felt unintentionally.
Pro Tips & Common Mistakes to Avoid
- Check your tension at the start of each session; if your first square is tighter than your second, adjust your hook size to compensate.
- Place a locking stitch marker in the top of your beginning chain-3 to make it easier to find when joining your final round.
- When weaving in ends, weave in two different directions—for example, horizontally and then vertically—to prevent the yarn from working its way back out over time.
- You can easily adjust the size of the square by adding or subtracting rounds; note that each additional round will increase your yarn requirement by approximately 5 to 7 yards.
Frequently Asked Questions
Can I use a different yarn weight for this project?
Yes, you can use any yarn weight, but you must match your hook size to the yarn label. If you use a thinner yarn, the finished square will be smaller, and if you use a thicker yarn, the square will be larger.
Is this pattern suitable for making a full blanket?
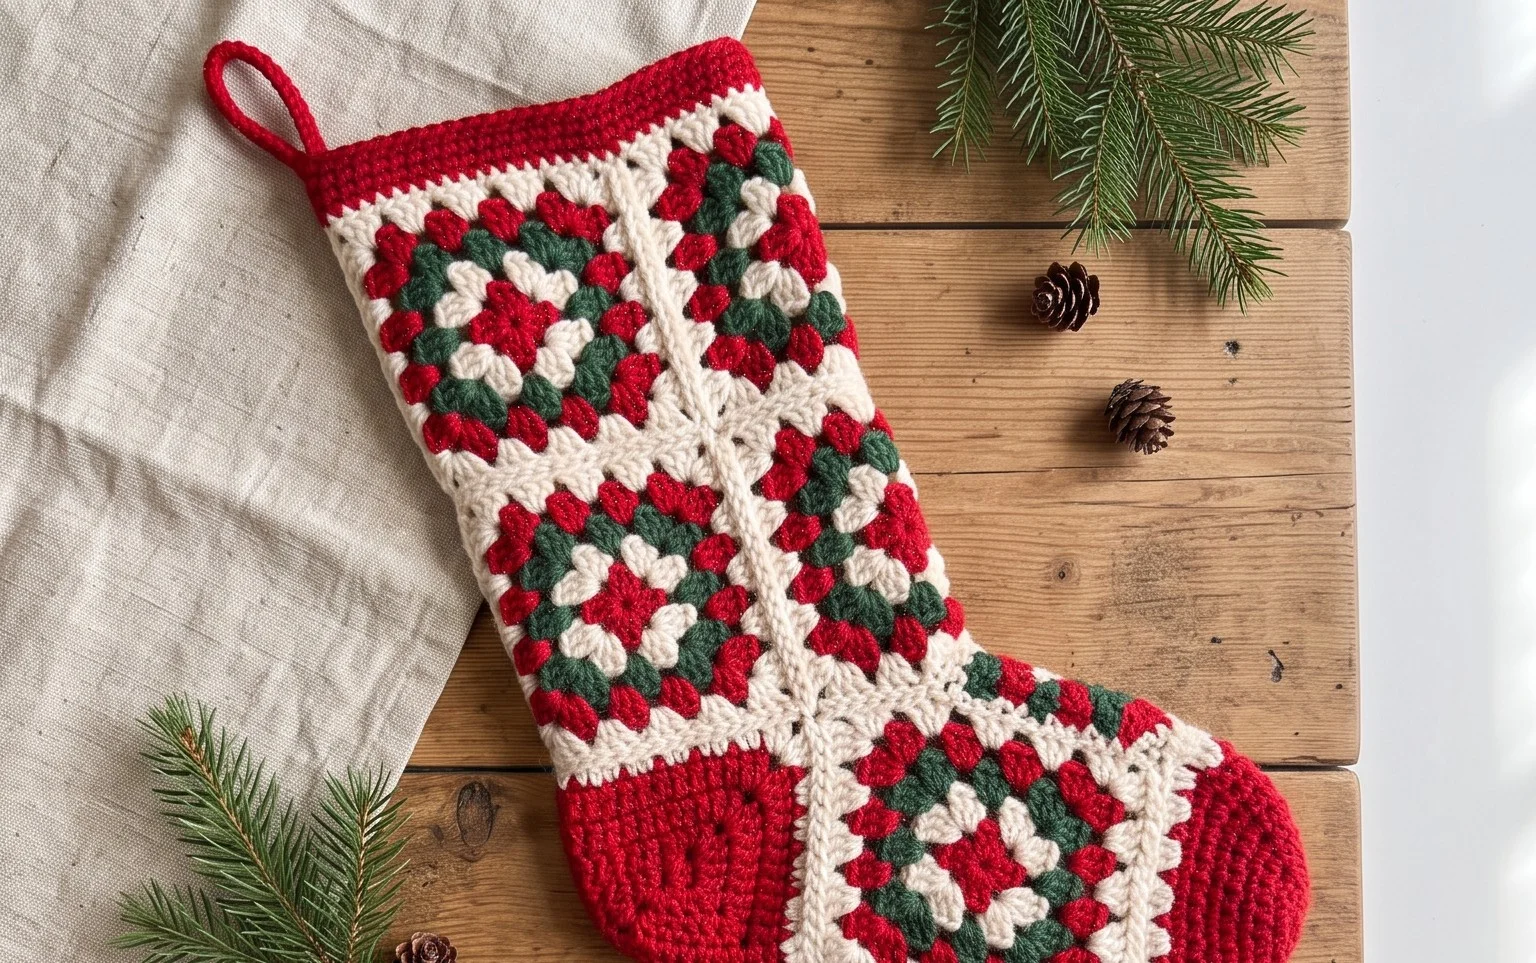
This pattern is perfect for a blanket. You can make as many squares as you like and sew them together using a flat slip stitch seam or a whip stitch.
Why are my corners curling inward?
Curling usually happens if your chain stitches are too tight. Try making the chain stitches in your corners slightly looser to help the square lay flat.
Can I sell the items I make from this pattern?
You are welcome to sell finished items made from this pattern, provided you credit the designer and use your own original photography for the listings.
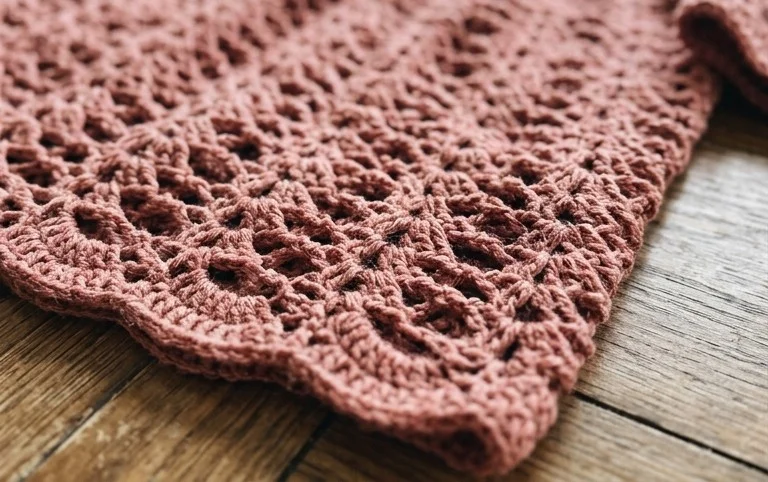
Seeing all these squares joined together into a single finished item provides a genuine sense of accomplishment for any maker. You might consider using a variegated yarn for your next attempt to create a completely different look without changing the stitch count or hook size. Take a photo of your finished work and share it with other crafters online to show off the unique color combinations you chose. Visit the rest of our blog for more free patterns to keep your hands busy during your next quiet evening at home.